|
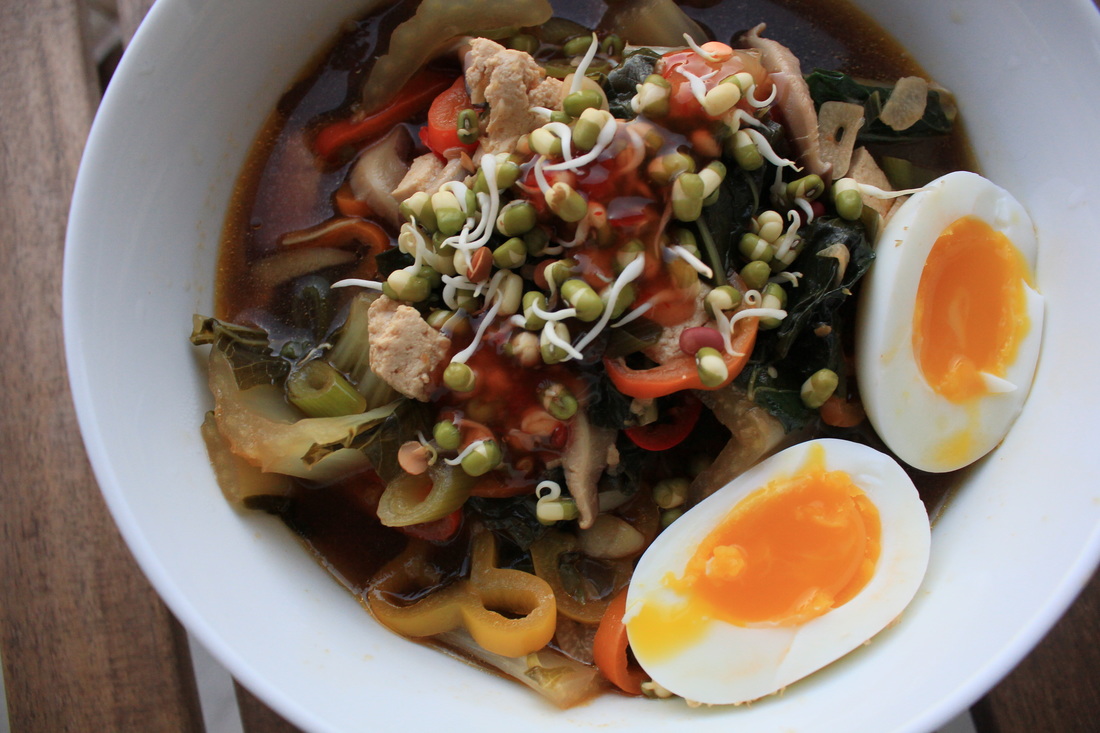
I don't know if this will only resonate with my ~women out there~ but do you ever have those sore, achey, tired, and lazy days that just call for soup? Like only soup. Those days that are so long and trying that the only thing you can fathom doing after work is sitting on the couch and eating a big, warm, tasty, comforting, bowl of soup? Likewise, are you that kind of person who wants to indulge in emotional comfort eating but also get your greens in? If so, continue reading.
This ramen recipe is simple, straight forward, quick, and totally satisfying. It's also as customizable as you want it to be, which is my favorite kind of recipe. The final product is tasty, warming, and nourishing, and just as impressive as the restaurant version, even without the artistic presentation of the vegetables as it's normally served. That's why I call this "lazy" ramen- you're gonna kick it old school and just dump your soup into a bowl and enjoy. Click the link below to continue reading!
8 Comments
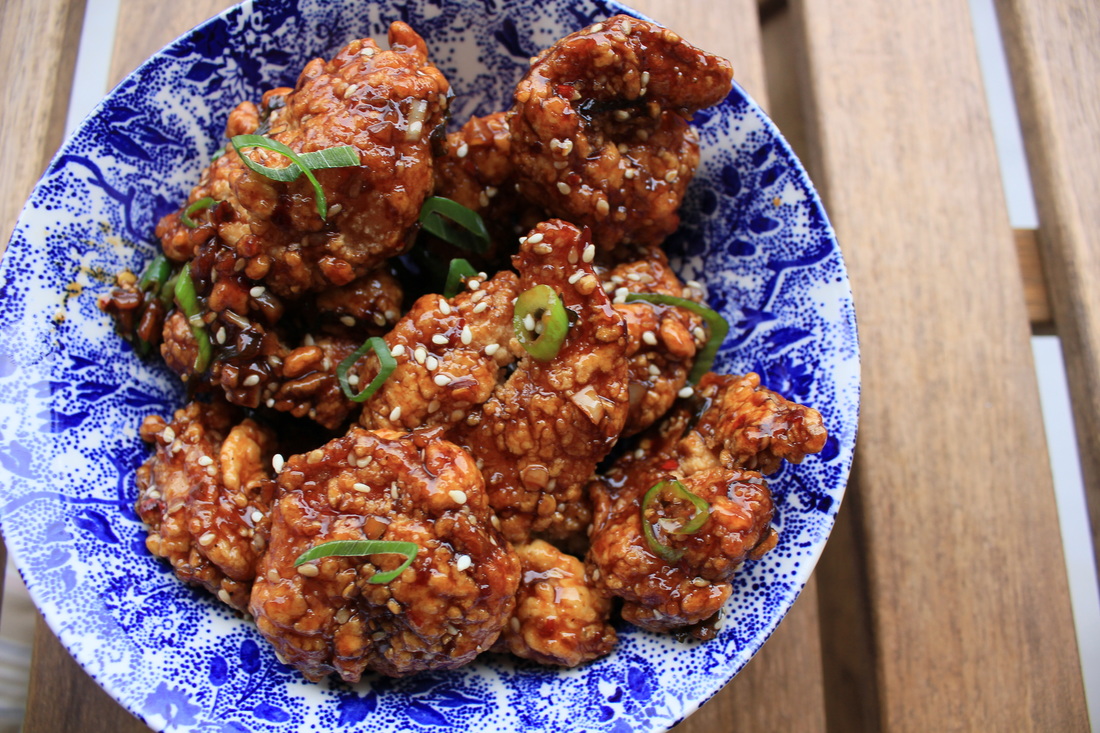
Alia is my mom and this is her recipe :) My mom's been making this recipe in chicken form since I was born. It was always the number 1 most requested dish for parties and BBQs, and my personal request for all holiday meals. Imagine crispy fried slices of chicken breast smothered in sticky, sweet, spicy, garlicky sauce. It was like crack. She'd make double batches so that I could have leftovers the next day, and I would always eat the leftover chicken cold- directly out of the tupperware because it was so good I wasn't willing to wait the 1.5 minutes it would take to heat up in the microwave. Well, in the summer of 2012, Sterling came to visit me at my parent's house in Chicago. My mom, the ultimate number 1 most gracious host and human on earth, knew that Sterling's favorite food was shrimp (in almost any form), and so, for the first time in 20 something years, made a shrimp version of her famous chicken. The game was changed forever. I've gone back and forth on whether I wanted to share this recipe. Part of me is like- this is my claim to fame... I get to say shit like "my mom makes the best shrimp you've ever had" and be right. Do I really want to give up those bragging rights? But, after much deliberation, I decided it's my responsibility as a good friend to share this with you. And ultimately, none of us can really make this as good as my mom, so might as well spread the love. Serves: 2 Prep time: 10 min Cook time: 15 min Adapted from my mom's recipe Ingredients:
• 1 lb frozen raw shrimp (shelled, deveined, and thawed) • 1.5 cups cornstarch, plus 1 half tbsp • 2 eggs, beaten • 1/4 cup sesame oil • 1/2 cup soy sauce • 3 tbsp light brown sugar or coconut sugar • 1 heaping tsp green onion, plus more for garnish, thinly sliced on the bias • 1 tbsp sesame seeds, plus more for garnish • 1/2 tbsp crushed red pepper flakes • 1.5 tbsp garlic, minced • 1.5-2 cups vegetable oil, or enough to fill a pot 2-3 inches deep • 1 tsp coconut oil or sesame oil • Salt and pepper Directions: • In a large pot or wok, heat vegetable oil to 350 degrees. • While oil is eating, take cleaned shrimp and pat dry with a paper towel. Season with salt and pepper. • Add beaten eggs to a large mixing bowl and season with pepper. Add cornstarch to a separate large mixing bowl. Toss shrimp first in eggs, then in cornstarch until thoroughly coat. Add more cornstarch if necessary, until shrimps are all evenly and thickly coated. • Once the oil has reached 350 degrees, slowly add shrimp 1 by 1, and let fry for 5 minutes, stirring occasionally. Cook no more than 10 shrimp at a time (overcrowding will reduce the temperature of the oil). • Once shrimp are golden brown and crispy, remove with a slotted spoon and let drain on a lined plate. Repeat until all shrimp are fried. • Combine sesame oil, soy sauce, sugar, green onion, sesame seeds, and red pepper flakes. • While shrimp is cooking, heat tsp of oil in a large nonstick skillet over medium-high heat. Add garlic and cook until fragrant and golden. Add sauce mixture and bring to a gentle simmer, stirring frequently. • Combine half tbsp cornstarch with 1 tbsp of water. Stir into the sauce and let simmer until sauce thickens. Stir frequently, careful not to let burn. Reduce heat as necessary. Note: sauce is done when you can run a wooden spoon down the pan and draw a quick line through the liquid • Turn off heat, add shrimp, and stir to coat. Garnish with more sesame seeds and green onions and serve immediately. Goes GREAT with garlicky mashed potatoes and brussels sprouts... just sayin. This is Buzzfeed Tasty's Korean Style Ribs recipe. I try to only bring you guys recipes that I have either created myself or adapted from something else, but I needed to share this one with you. I followed the recipe exactly, and let me tell you, these. are. delicious. They take several hours to make, but only about 10-15 minutes hands-on time. Because I didn't modify this in any way, I'll give you my notes/suggestions throughout the recipe. Scroll down to read on! Ingredients:
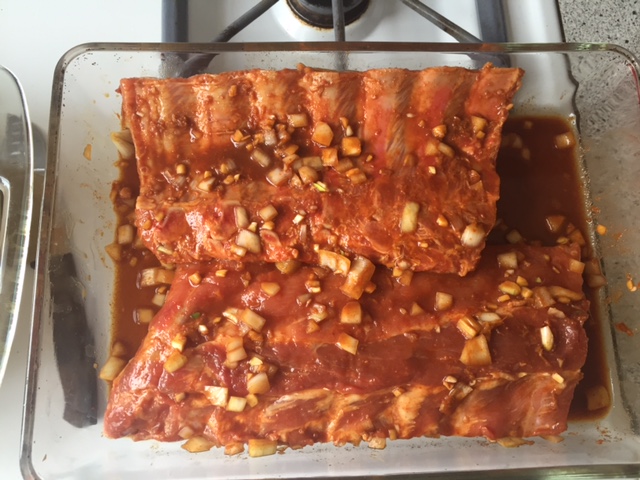
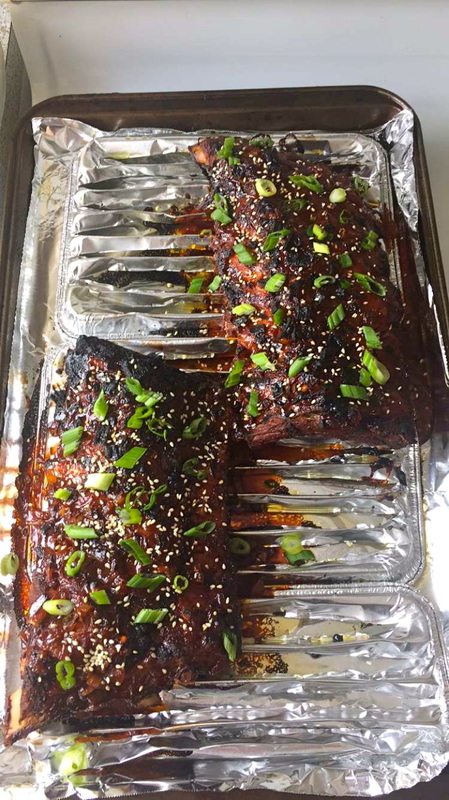
• 1/2 cup soy sauce • 2 tbsp rice vinegar • 2 tbsp sesame oil • 2 tbsp red pepper powder • 8 garlic cloves (minced) • 1 tbsp grated ginger • 1 cup onions • 1/4 cup honey • 3 lbs baby back ribs (I used 2.85 lbs, and the meat to sauce ratio was perfect, tbh) Optional toppings: Sesame seeds Chopped scallions or green onions (I used green onions) Directions: • In a large bowl, combine soy sauce, rice vinegar, sesame oil, red pepper powder, garlic, ginger, and onions Note: red pepper powder is EXTREMELY spicy...that's coming from a Puerto Rican with a high tolerance for spice...There's enough meat in the ribs to offset the concentrated level of heat you're adding to the marinade, but if you are sensitive to spice, I would use either half the amount of red pepper powder OR substitute with cayenne • Add ribs to a large dish and pour the marinade over top, rubbing the sauce in with your fingers. Make sure to get both sides. Allow to marinate for at least four hours. Note: I prepped my ribs on Saturday evening, and let them marinate over night..total of about 16 hours. I think this makes a big difference as rib meat can be pretty tough. The longer you let them marinate, the more liquid the meat will absorb. • Preheat oven to 400° and place ribs on baking rack over a baking sheet. Save your marinade! Note: The baking rack was omitted in Tasty's version, but I'd strongly suggest using one. By creating a space between the ribs and the baking sheet, you allow the heat to circulate underneath, which helps cook all sides more evenly. If you don't have a baking sheet, like me, you can either... get one... or you can use a few of these foil broiler pans from Hefty (lmao). I just cut slits in between each of the ridges, and it worked like a peach. They're like 2 bucks for a set of 3. • Cook ribs for 2.5 to 3 hours and remove. Turn on broiler. Note: I put the ribs in before church, and got stuck in traffic on my way back, so they got the full 3 hours. I'd suggest keeping it at 2.5 • Once removed, add marinade and honey to a small sauce pan. Bring to a boil over medium/high heat, and continuously stir until you've formed a glaze. Spoon over your ribs and place under broiler for about 3 minutes, or until the glaze has caramelized Note: stay nearby. The original recipe suggested broiling for 5-10 minutes, but the glaze started burning right at the 3 minute mark • Top with sesame seeds and scallions or green onions, and serve while hot! |
Hi! I'm Shantal.
Categories
All
|


 RSS Feed