|
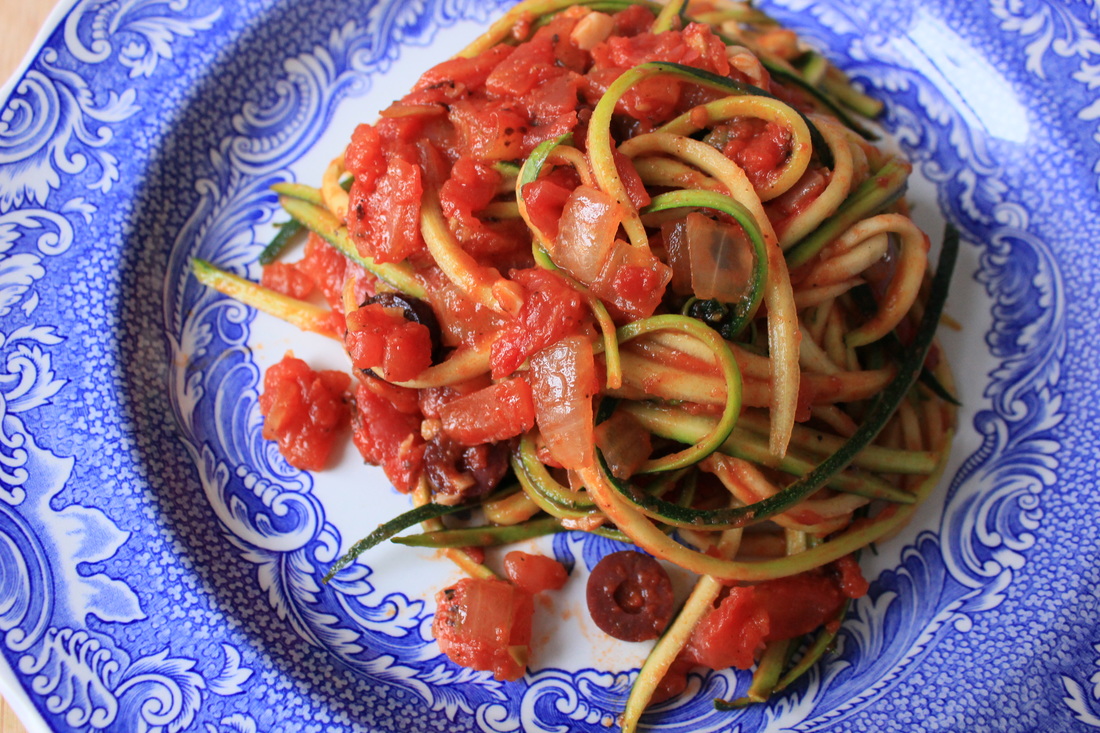
When I was in high school, I went to the same restaurant for lunch every thursday. I always sat in the same booth, and I always ordered the Penne Puttanesca. I love the tangy tomato sauce with the salty capers and the briny olives. I would smother my pasta in parmesan cheese and finish the leftover sauce by spreading it onto half a loaf of french bread. Now, while I will not sit here and pretend that I don't do the exact same thing when I go out to eat now, I will say that I have lost my teenage metabolism and do strive to lighten it up now and then. This puttanesca that I present to you tastes almost exactly like that dish I remember so fondly- only it is carb and anchovy free. Which means that now I can eat that half loaf of french bread without thinking twice.
I know I previously said that I don't consider zucchini noodles to be an adequate substitute for pasta, but I was wrong. I was so wrong. Today I've learned that it's all about the sauce, man. I've made a pretty vast range of sauces to cover my zucchini noodles in the past- alfredo, creamy red pepper, lentil marinara, pesto- and while it all tasted good, it just never felt as satisfying to me as a big ass bowl of pasta. I do not know what the difference is here today, but I have half of this puttanesca left over and I am so satisfied that I am actually leaving it for my lunch tomorrow. It's salty, briny, tangy, spicy, texturally pleasing, smells amazing. I dunno. It just works. It is really damn good, and I am so excited to share it with you. Serves: technically makes 4 servings, but it's zucchini which means it's less filling than real pasta so let's call it 2 servings, shall we? Cook time: 10 minutes (no joke) Ingredients: • 3 zucchini, julienned. (as mentioned in my last zucchini noodle post, you'll only want to use the firmer parts. stop peeling once you've reached the seedy, softer center) • 14.5 oz diced tomatoes (I use the "fire roasted" flavor) • 1 tbsp tomato paste • 2 garlic cloves, minced • Half a large sweet or white onion, diced • 1 1/2 heaping tsp capers • 2 heaping tbsp kalamata olives, sliced thinly • 1 tbsp olive oil • Salt and pepper to taste Optional toppings: red pepper flakes, fresh basil, shaved parmesan Directions: • In a nonstick skillet, heat olive oil over medium-high heat. Once hot, add onions. Season with a pinch each of salt and pepper. Cook until onions are translucent, stirring occasionally. • Add garlic and tomato paste and stir to combine. Cook until garlic is fragrant, about 1 minute. • Add diced tomatoes, and heat for a minute, stirring occasionally. Then add olives and capers, and stir to combine. Let simmer for 1 minute. Taste and season with salt and pepper, as needed. • Next, add the zucchini in bunches. It'll seem like too much zucchini at first, but as it cooks, the zucchini will release its' moisture and get smaller. Keep adding and stirring continuously until all of the zucchini has been incorporated. Cook for another 30 seconds to a minute, or until all of the zucchini is coated in the sauce and heated through. It should still have a bite to it. • Remove from heat, top with desired optional toppings of choice, serve hot, and enjoy :)
1 Comment
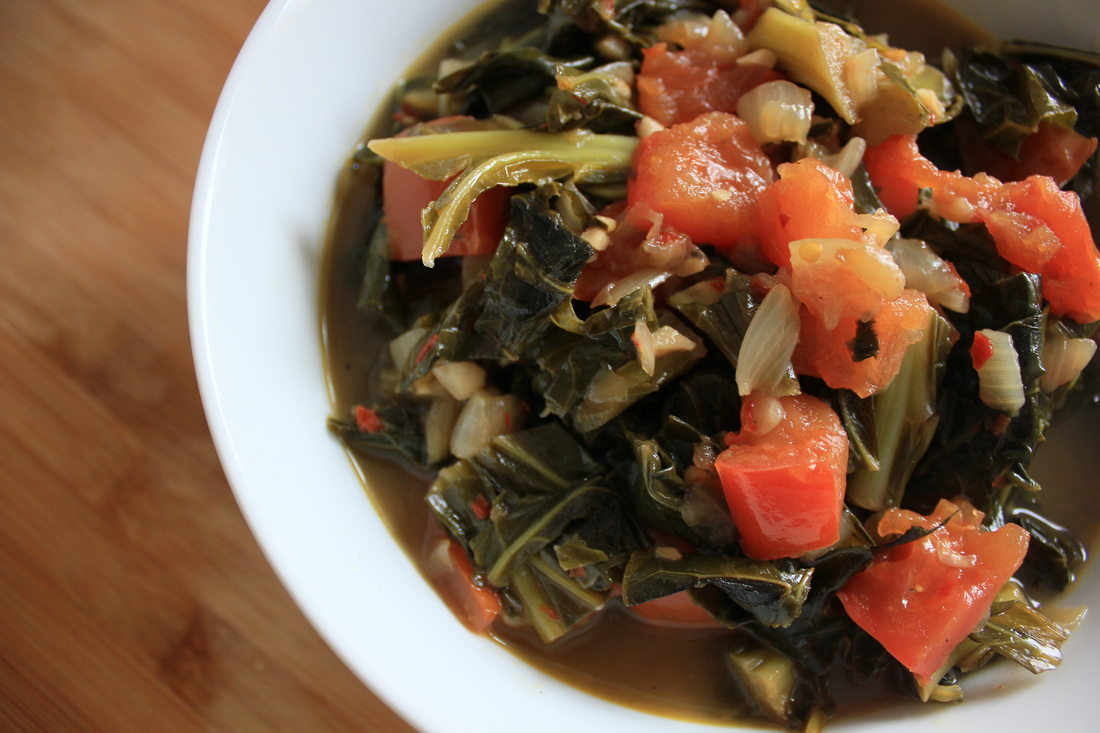
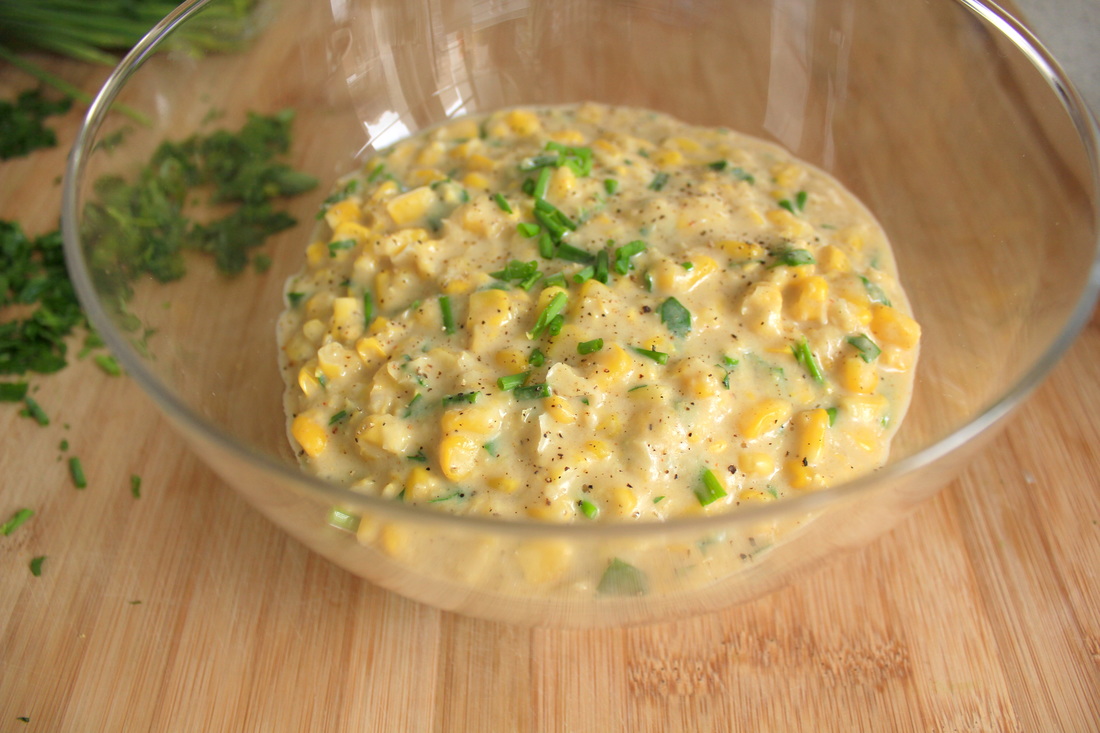
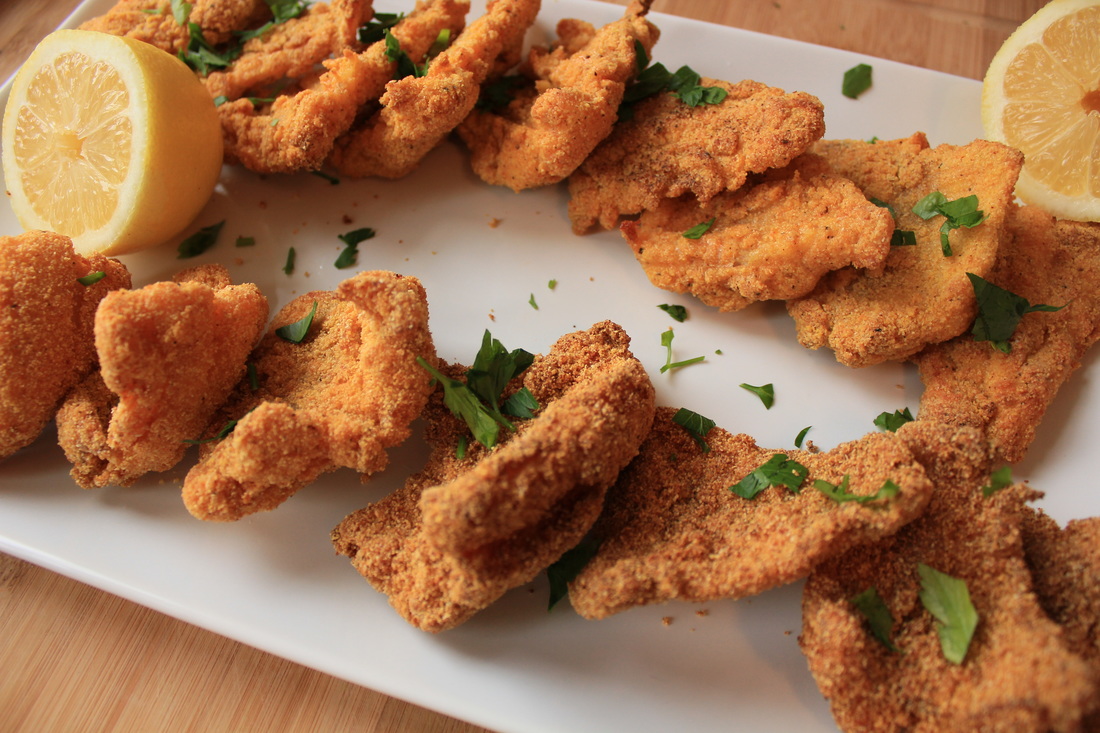
Southern Dinner: Vegetarian Collard Greens, Vegan Creamed Corn, and Spicy Oven Fried Catfish5/16/2016 I am still coming down off of the high that was this dinner. It's probably safe to say that everyone loves good southern cooking, but most people wish there was a way to get that amazing southern flavor with just a few less calories. Well, I am happy to report that I have got you covered!
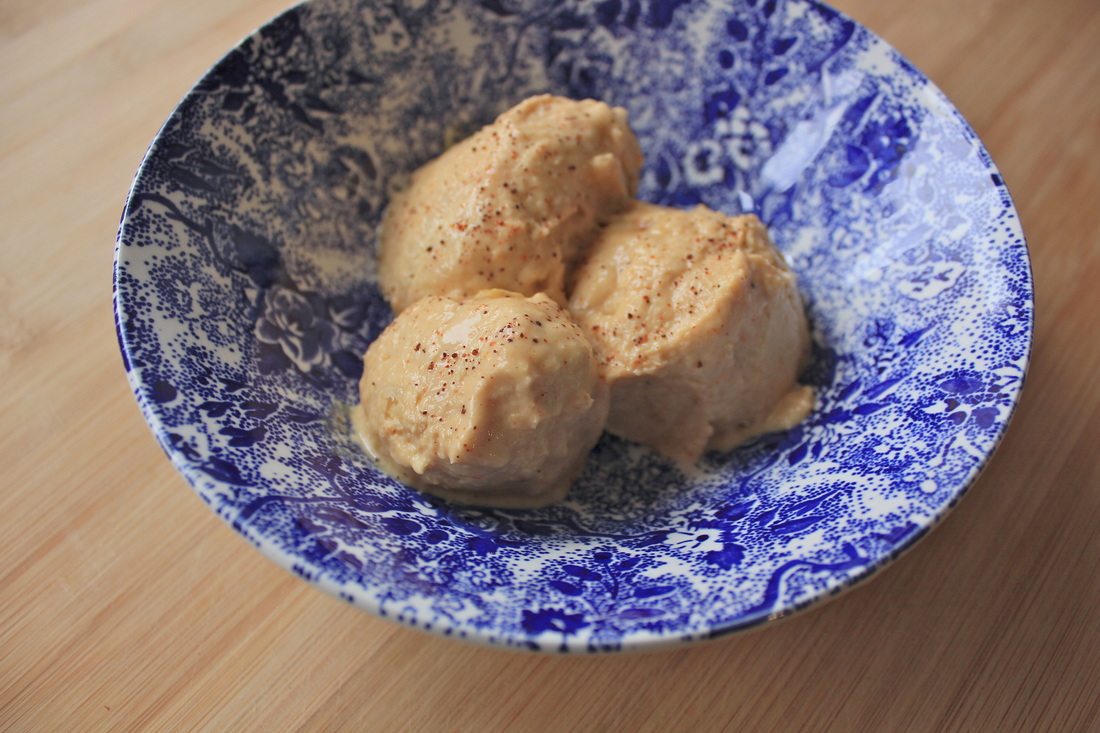
I really wanted to achieve a lightened up southern meal that was not only healthy, but also satisfying and true to its' traditional flavors. So, I put this menu together, invited my family over for dinner, and put the meal to the test. Now, my mom, God bless her, is an unwavering fan of everything I do. I could have served her frozen fish sticks and she still would have raved about it to her friends. So I rounded up my other judges- Dad: Brutally honest. Spent formative years in the Fish Fry midwest. Will only eat catfish if fried. Sister: Outspoken. Spent 4 years in New Orleans. Will quickly tell you if your southern food is a sham. Fiancé: Is (picky) particular in his tastes. Hails from Dallas. Introduced me to fish fries. As you can see, the pressure was high. I held my breath as they took their first bites, but They. Loved. It. The greens are spicy and still super flavorful, despite their lack of ham. The corn is creamy and sweet. I used coconut milk to make it vegan, but the coconut flavor is super subtle and is offset by the addition of parsley, chives, and black pepper. Don't be afraid of this one. The catfish... ohhhh the catfish. The crust is crispy, flaky, and spicy, and the fish was juicy and had absorbed all of the flavors infused in the breading. I got the recipe for the oven fried catfish from Jocelyn Delk of Grandbaby Cakes. She's got Mississippi roots and promised her oven fried version would not disappoint. I trusted her, but juuust in case, I made a batch of deep fried fish too. I lined up the two batches and didn't tell anyone that some were baked, and not a single person at dinner could tell the difference! After revealing to my dad that one of the pieces he had eaten was baked, he actually admitted that it tasted even better than the fried version. Well done, Jocelyn. Thank you. So, that's the story behind this unbelievable dinner. If you want to learn how to make these delicious, lighter versions of southern classics then keep on reading! I promise you there is NO flavor compromise here. Some kids spent their summers anxiously awaiting the jingle of the ice cream truck. I, growing up on the west side of Chicago, spent mine waiting for the elote man. An elote, or "Mexican Street Corn" as it is now referred to in the mainstream, is corn on the cob dressed with chili powder, butter, cheese, mayo, lemon or lime juice, and crema. Perfect summer body food, really. They're salty and creamy and spicy and sweet and DELICIOUS. As someone who a) hates eating corn on the cob (can't handle food in my teeth) and b) hates getting her hands dirty while she eats, I would always ask the elote man to scrape the kernels off the cob, and serve them to me in a bowl with all the fixings. Elotes are one of my favorite snacks, and will always, always remind me of my childhood. So, summer's...allegedly...around the corner (it's snowing in Chicago as I write this) and I thought it would be amazing to transform that nostalgic, savory, calorie heavy snack-in-a-cup into a sweet and healthy treat. And let me tell you- it worked. This sweet corn ice cream delicately highlights the two defining flavors of an elote (the corn, obviously, and the chili) and presents that nostalgic flavor in such a subtle, surprising way. Using just 5 ingredients, this ice cream is both simple and complex, and is sure to make you smile. Total time: 10 min hands on plus at least 8 hours to refrigerate the coconut milk and at least 5 hours to freeze the ice cream
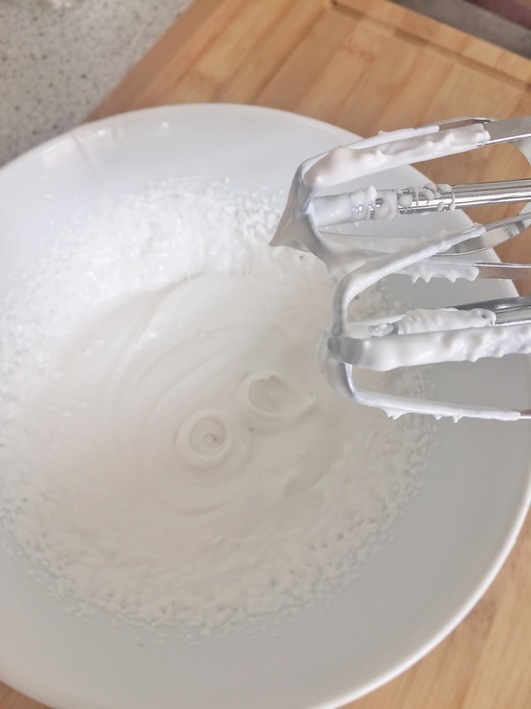
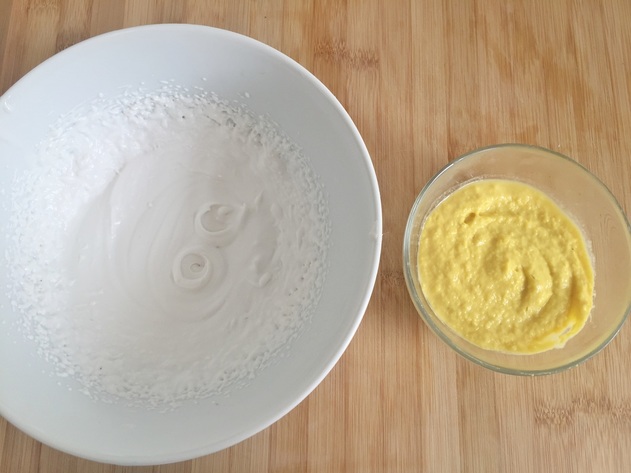
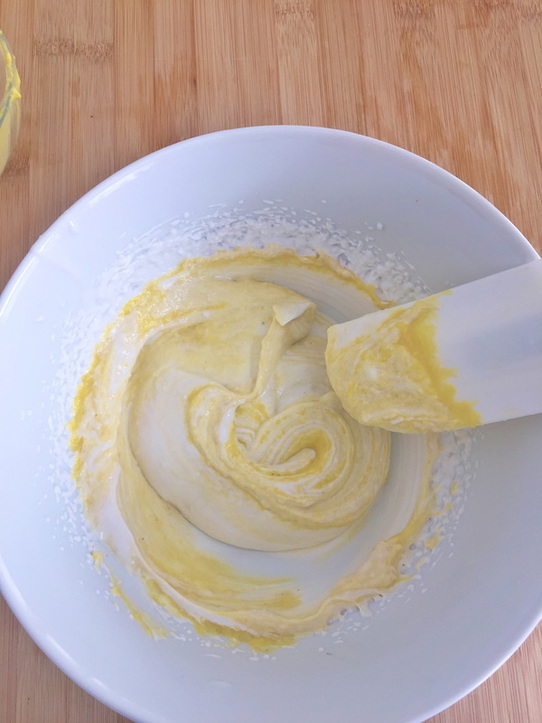
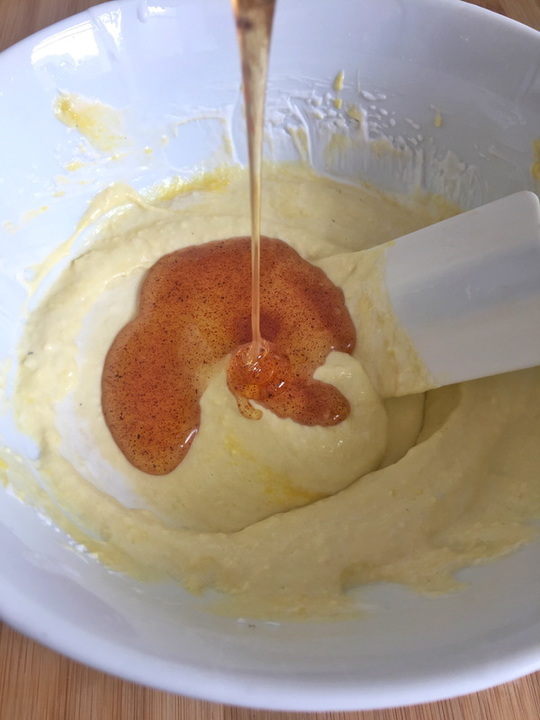
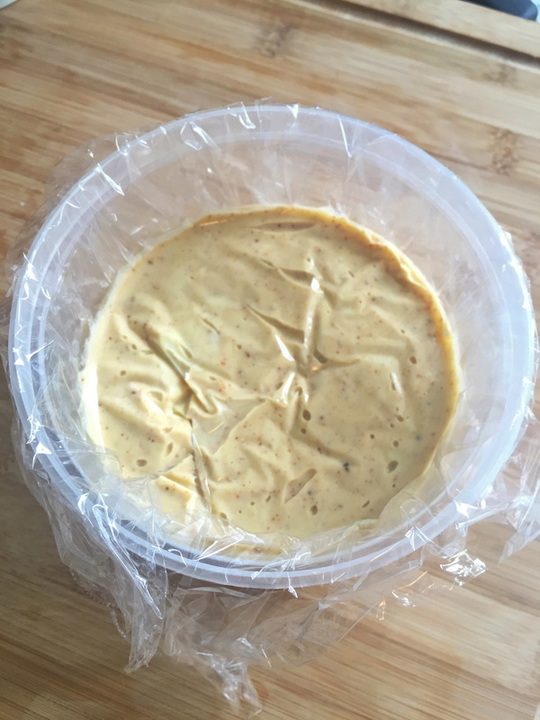
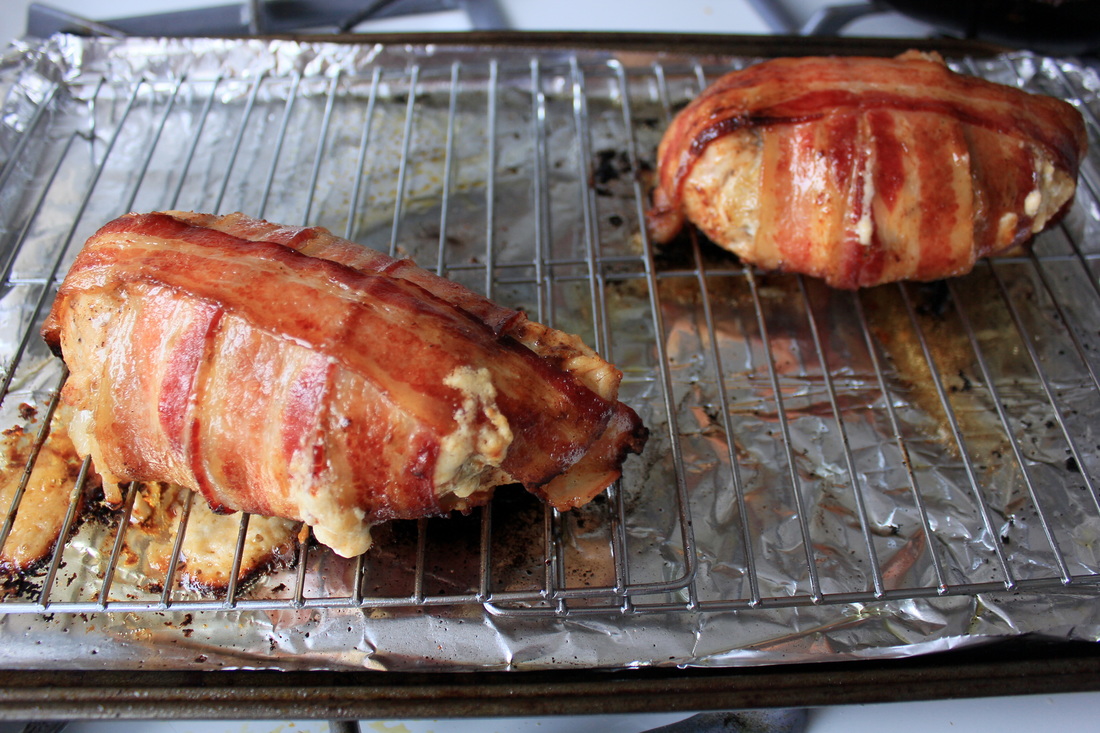
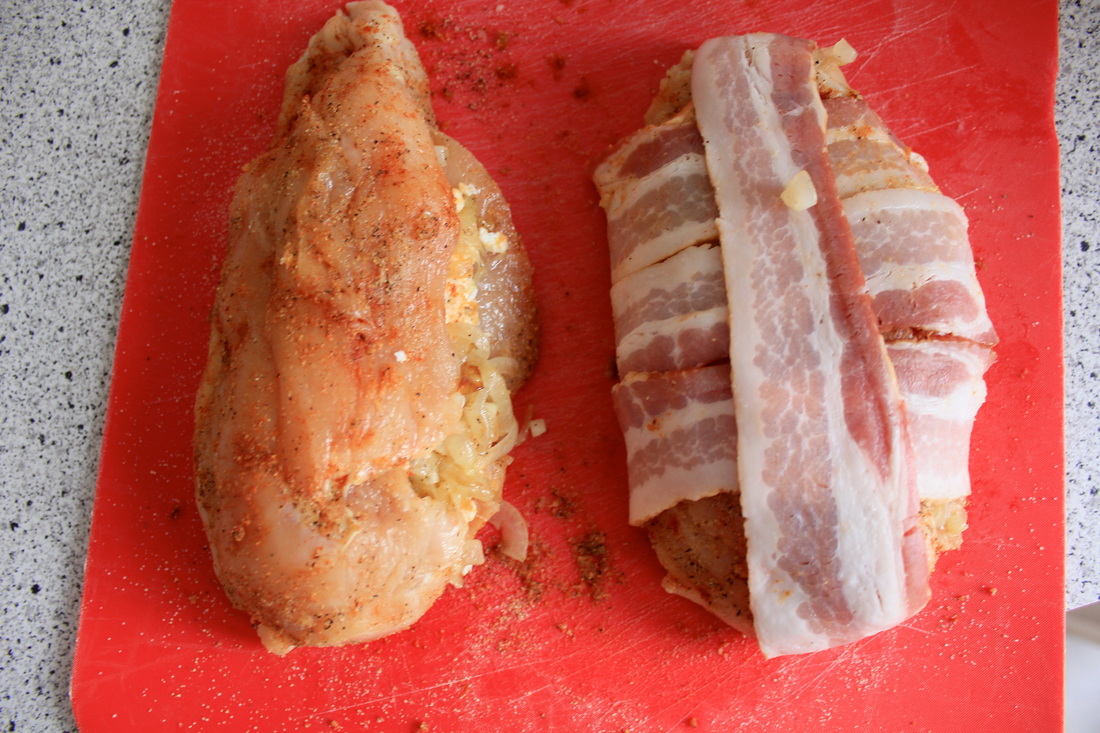
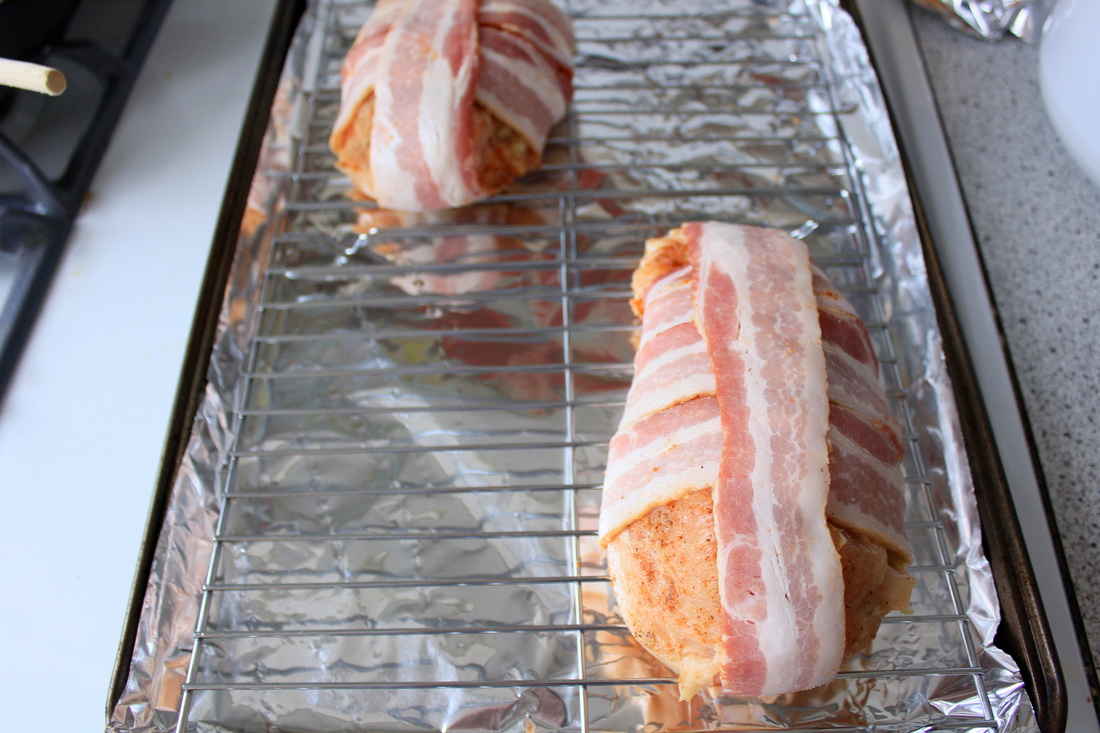
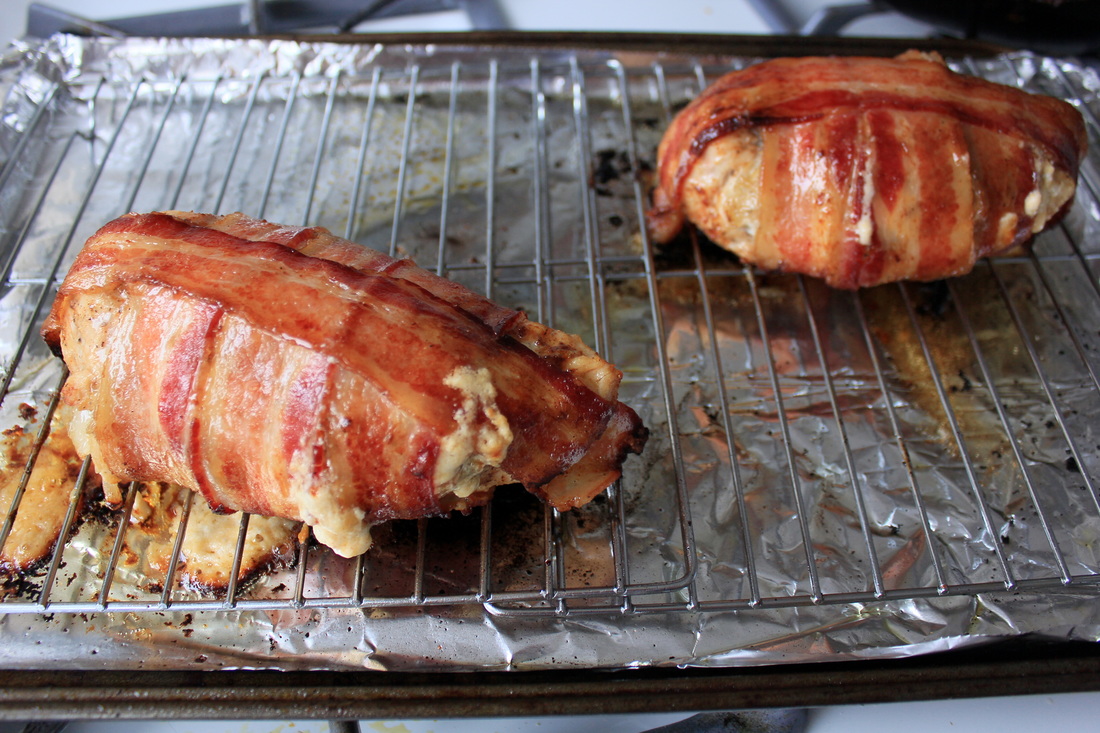
Ingredients (small batch): • 2 (14 oz) cans coconut milk (I recommend this brand), refrigerated overnight • 3 cups frozen sweet corn kernels (thawed) • 1/2 cup honey • 2 1/2 tsp chili powder • 1 tsp ground cayenne Note: feel free to adjust the chili powder and cayenne according to your preference Directions: • Purée the corn in a high speed blender or food processor. Add to a bowl and place in fridge while you work on the coconut milk. • Carefully scoop out the coconut cream from the top of the can and add to a large bowl. Do not use the water at the bottom of the can- this will cause ice crystals to form in the ice cream. You can save the water for smoothies or coconut rice, YUM. • With a hand mixer, beat the coconut milk until soft peaks form, then gently fold in the puréed corn. • Mix the honey, chili powder, and cayenne, and fold into the ice cream mixture • Pour the mixture into a freezer friendly container and gently tap the bottom of container against the counter to help remove any air bubbles. Place saran wrap over the container and press it into the top of the ice cream mixture. Protecting the ice cream from the air will also help to avoid ice crystals. • Pop the lid on the container, and freeze for 5 hours, or overnight. • When ready to eat, let the ice cream sit at room temperature for 3-ish minutes so that it softens up and becomes easier to scoop Whoa. Ingredients: • 2 large chicken breasts • 6 slices bacon • 1 tsp salt • 1/2 tsp ground black pepper • 1/2 tbsp garlic powder • 1/4 tbsp onion powder • 1/4 tbsp paprika • 4 tbsp shredded cheddar cheese • 3 tbsp grated parmesan • 1 tbsp goat cheese (optional, for creaminess) • 1 small onion, thinly sliced • 1 tbsp olive oil • Additional salt and pepper to taste Directions: • Preheat oven to 450 degrees and fit a baking rack over a lined baking sheet. • Heat olive oil in a nonstick skillet over medium-high heat. Once hot, add onions and cook until translucent and starting to turn golden. Turn off heat. • Rinse chicken breasts under cold water, pat dry, and remove excess fat. Cover in saran wrap and pound until breasts are even in size, but still thick. Using a small, sharp knife, cut a pocket into the side of the chicken, starting at the thickest side of the meat. • Combine salt, pepper, and remaining seasonings in a small bowl. Rub into each side of the chicken breast. • Combine onions and cheese, and stuff into the pockets you created. Wrap the chicken with the bacon slices, so that the ends are facing down. Place wrapped chicken onto the baking racks, and bake for 25-30 minutes, or until chicken is cooked through (internal temp should be 165 degrees). • Turn broiler on low and broil each side for 2-4 minutes, or until bacon crisps up Note: if your broiler does not have a low option, just adjust the oven rack to 8-10 inches below broiler to help avoid burning • Serve hot and melty! My girlfriend Julian came over for dinner last night. We drank red wine, listened to jazz, watched a movie, and had a feast. On the menu was this amazing grilled peach flatbread with whipped honey ricotta and basil. I'll let you take a minute to reflect. This honestly might be one of my favorite things I've ever made.
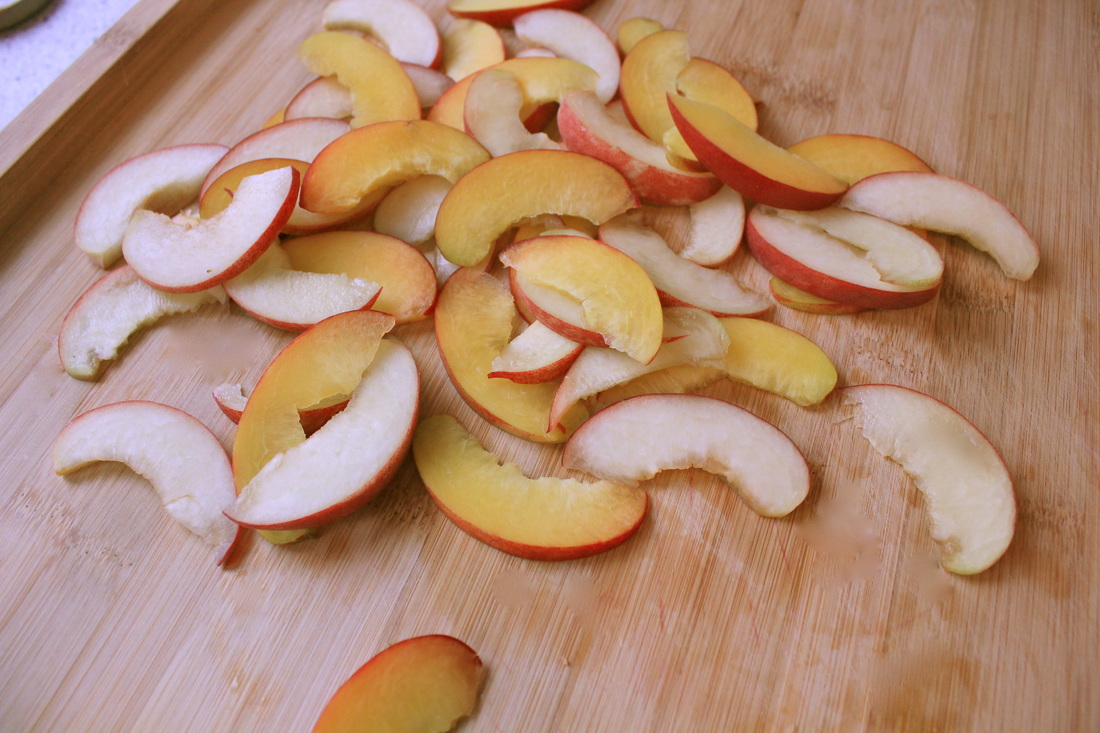
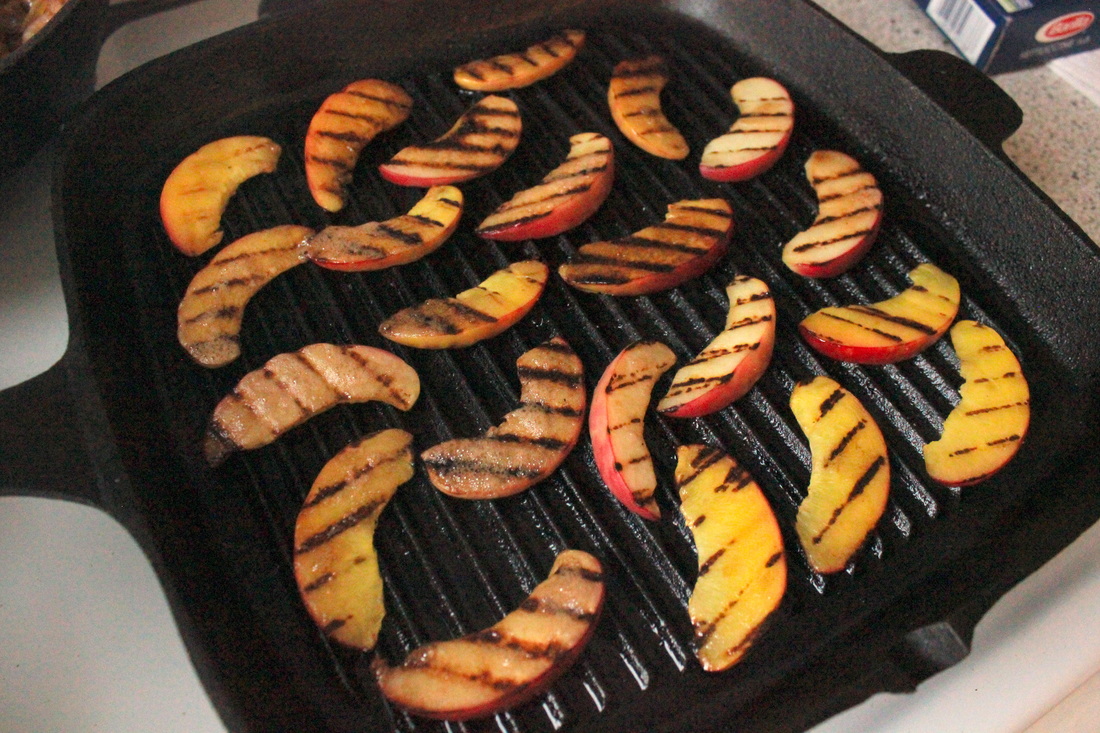
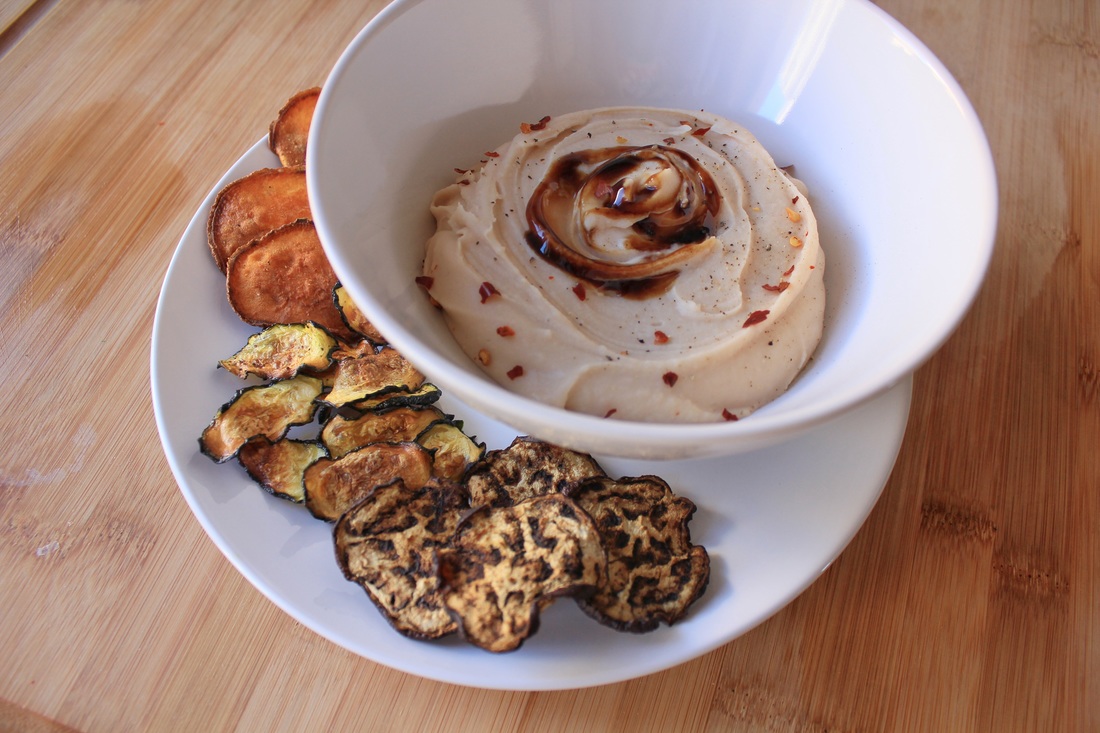
Every single component is wildly delicious. The naan is perfectly crisp with a chewy center. The peaches are sweet and tart with a beautiful char. The ricotta...my god, the ricotta. It's light, and creamy, with just a hint of sweetness. I had some leftover and straight up ate it by the spoonful as I assembled the flatbread. I actually have a little bit more in the fridge that I'm about to spread onto some toast. And finally, the basil helps to balance out the richness, and adds beautiful color, making this the most scrumptious little bite of heaven. Ingredients: • Flatbread of choice (I used this naan flatbread) • 1 cup ricotta • 1.5 tbsp honey • 2 small peaches, sliced very thinly (I used 1 yellow and 1 white fleshed) • 2-3 tbsp chopped fresh basil • Pinch of salt Directions: • Preheat oven to 425 degrees and fit a baking rack over a baking sheet Note: If you don't have a baking rack, just lay your flatbreads directly onto a lined baking sheet. Using a baking rack will allow the heat to circulate under the flatbread, with helps cook everything more evenly, but this will still turn out great without one) • Heat a grill pan over high heat and spray with non-stick olive oil spray. Once hot, arrange peaches in one layer and grill for 2-3 minutes per side, or until each side has deep grill marks and the slices have softened, without becoming mushy. Remove from the pan and set aside. **before flipping the peaches, spray the uncooked tops with the olive oil spray, and sprinkle with salt, then flip and cook the other side • In a blender or food processor, blend the honey and ricotta until the ricotta is light and silky. This should just take a few pulses • Spread the ricotta mixture over the flatbread, stopping about half an inch from the edge, and top with the grilled peaches. Place onto baking rack and bake for 10-12 minutes, or until the edges are golden brown and crispy. Remove and top with chopped basil. Add back to the oven for about 30 seconds, to bake the basil into the peaches and ricotta. Quickly remove so that the basil doesn't burn. • Serve hot and enjoy! The first time I saw this white bean spread was at a restaurant called Quartino, and I have been dreaming about it ever since. A have a monthly dinner date with my friend Anna, whom I've known since we were 10- that's almost 16 years for those of you doing the math. We met at DAY CAMP one summer and have been best friends ever since. Our dinners are spent catching up, eating as much as we can, and sharing at least 1 bottle of wine. It's indulgent, but it's tradition. We like to try out different restaurants and neighborhoods, but we do have a few favorites that we keep on rotation. Of these, is Quartino- an Italian shared plates spot and wine bar in River North, Chicago. Good food, good ambiance, relatively inexpensive drinks- we love it. So anyway, their white bean and garlic spread is aaaamazing, and I have been dying to recreate it.
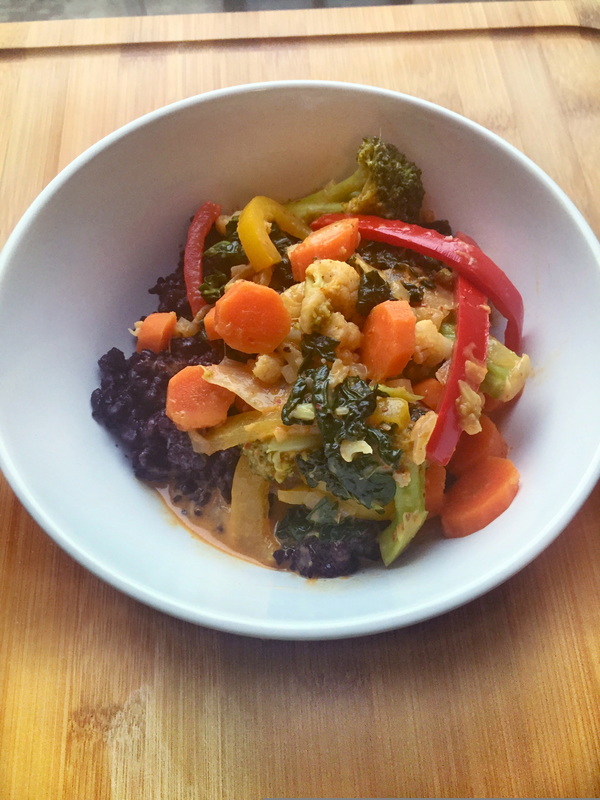
This is a simple spread that takes just a few minutes to whip up. It's got a subtle, sweet, garlicky flavor, and is silky smooth and spreadable. Here I served it with some homemade veggie chips, and had some on wheat toast for breakfast the next day. But I will tell you, it's best on a warm, flaky, golden crostini, which is exactly how they serve it at Quartino. They also serve it with very thin slices of spiiicy red peppers. The pairing of that creamy, silky, light spread with the heat of the peppers is literally brilliant. I didn't have any fresh red peppers, so I used some red pepper flakes. At the restaurant, I dip my crostini slices in balsamic vinegar before topping it with the bean spread and pepper slice- I love that balance of sweet acidity with the creamy spread and the spicy peppers. It is perfection. So when I made this at home, I was sure to top it with some balsamic glaze to keep the tradition alive. Recipe after the jump :) Warm and comforting, hearty and healthy. Mostly savory, but a little sweet and a little spicy. It's everything you need, really. I made this as an extension of Cookie & Kate's recipe, and it was delicious. I added some heat, a few extra veggies (I post way too much broccoli on this blog), and served it on top of a big bed of black rice- which allegedly contains more antioxidants than blueberries, fun fact. Another fun fact, I cannot make rice to save my life. It's always either over cooked or under cooked. My mom actually bought me a rice cooker for Christmas- it's that bad. Sterling can attest. So, if you want to learn how to make rice, please google it, because I really just cannot help you, I'm sorry. The rice you see up top turned out pretty good, but that was a fluke and I don't trust myself to tell you how to replicate the process. So sorry, love you forever.
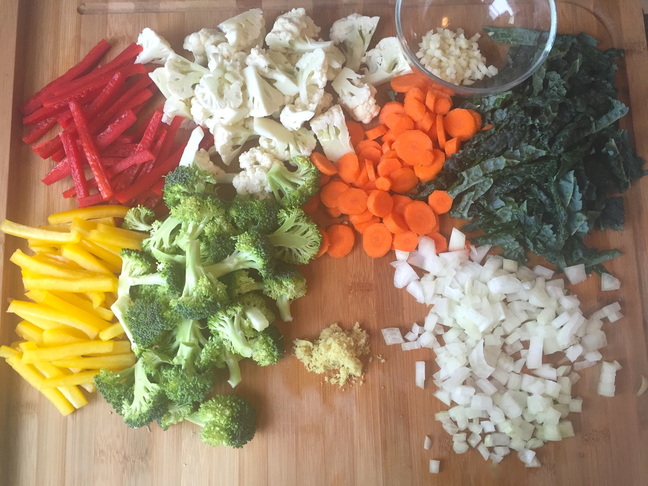
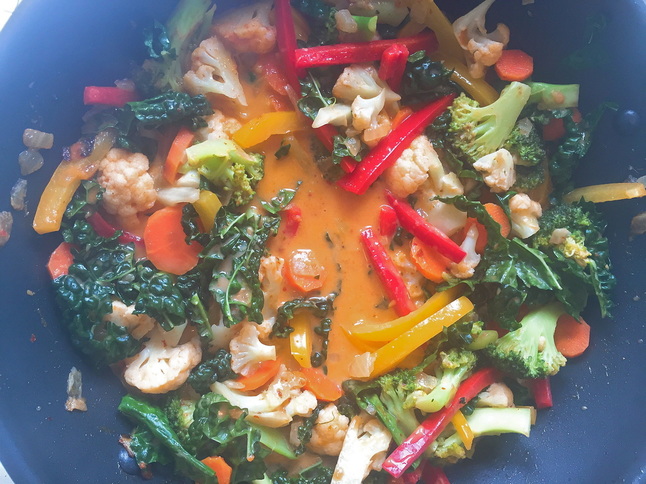
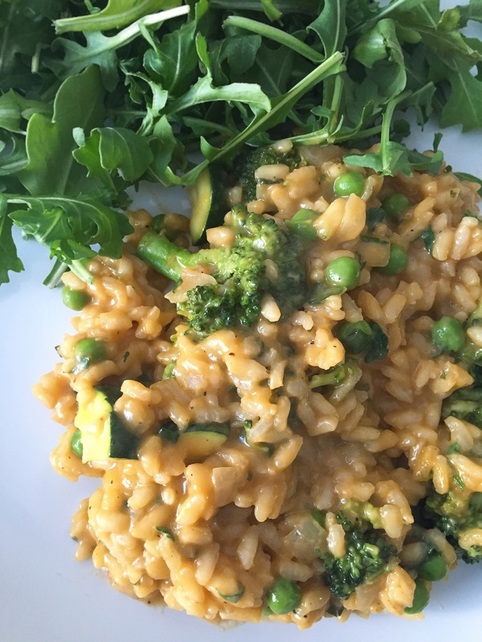
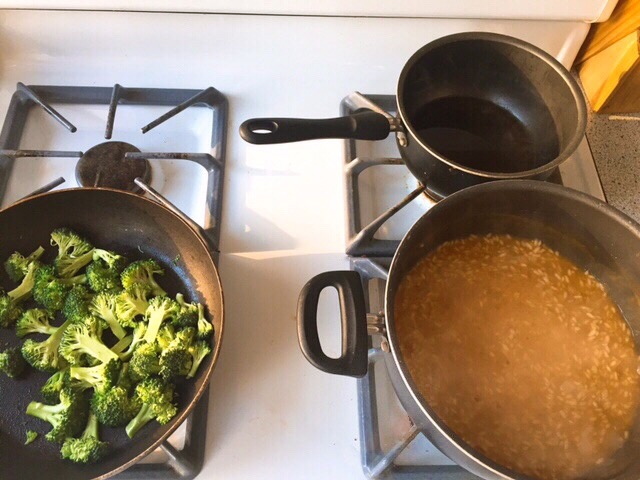
Anyway! If you want to make this with meat, just add chicken to the pan before adding the veggies, cook until outsides are browned, but not cook through. Then proceed according to the rest of the instructions and let simmer until chicken is cooked through. Or, if you don't eat meat, and want to share this meal with someone who does, just make the chicken in a separate pan by sautéing bite sized pieces in some garlic and curry paste. Top the veggie curry with the chicken and your dinner guest will be good to go! Ingredients (makes approx. 4 servings): • 1 cup rice of choice • 1-2 tbsp coconut or olive oil • 1 small white onion (diced) • 1 tbsp freshly grated ginger (or the tubed kind!) • 1 cloves garlic (minced) • 1 red bell pepper (sliced in thin strips) • 1 yellow bell pepper (sliced in thin strips) • 3 carrots (peeled and sliced diagonally into 1/4" rounds) • 1 cup broccoli florets • 1/2 cup cauliflower florets • 1 cup lacinato kale (cut into thin strips, ribs removed) • 3 tbsp Thai red curry paste (I strongly recommend using this brand) • 14 oz full-fat coconut milk (there are several brands of coconut milk with lots of additives. the only ingredients you should see are: coconut, water, and guar gum) • 2 tsp coconut sugar • 2 1/2 tsp low sodium soy sauce • 1 1/2 tsp rice vinegar • 1/2 tbsp ground red pepper • Basil for garnish (strongly suggested! didn't have on hand when I created this post) Directions: • Cook rice according to instructions from someone else (see note in first paragraph of post) • Heat a large skillet with deep sides over medium heat. Once hot, add 1 tbsp of oil, onions, and a pinch of salt. Cook until onions are translucent, about 3-4 minutes. Add garlic and ginger, and cook until fragrant, about 1 minute. Stir continuously. • Add 2 tbsp of the curry paste and stir to combine. Cook for about 30 seconds, allowing the paste to soften up and become fragrant. Note: if cooking with chicken, you would add the meat at this stage and cook until browned, but not cooked through, then add veggies and follow remaining steps, allowing broth to simmer until chicken is fully cooked • Add broccoli and cauliflower and cook until veggies are tender and broccoli is bright green. The broccoli should still have a slight crisp to it. You may need an additional tbsp of oil. • Add peppers and carrots, and cook for about 3 minutes, or until tender, stirring occasionally. • Add remaining tbsp of curry and stir to combine • Add coconut milk, 1/4 cup water, kale, and coconut sugar, and stir to combine. Adjust heat to bring liquid to a low simmer, and cook for 5-10 minutes, allowing all of the flavors to come together. Note: if you are using canned coconut milk, there will most likely be a thick layer of coconut cream on top. Just blend this into the coconut water at the bottom of the can before adding to the curry. • Remove from heat and add rice vinegar, soy sauce, ground red pepper, and a pinch more salt (if needed) Yeah, you heard me. I said carrot purée. If you guys know me by now, you know I love sneaking in extra vegetables where I can. And if it adds more color, it's a win win. This risotto is rich, creamy, aromatic, and has just a hint of sweetness from the carrot purée. It pairs really nicely with a simply arugula salad (and a crisp glass of white wine), and is always impressive to guests. The only problem with risotto is that it doesn't really reheat that well, so you're just gonna have to finish this whole thing tonight :) A lot of people have this misconception that making risotto requires a higher level of skill, but honestly, it's one of the easiest things you can make- it just requires your near-undivided attention. I think the babysitting aspect of making risotto is what deters most people, but I find it to be extremely therapeutic. The heady scent of white wine and onions cooking together will fill your kitchen and make you feel fuzzy inside, and there is something so calming about the repetition of stirring and ladling, stirring and ladling, stirring and ladling.... see what I mean? *Kitchen Tip* I've found that the best way to make risotto is with a glass of wine in your free hand... ;) Have I mentioned I like wine? But really, you deserve it. You're going to be standing at the stove for an hour- treat yourself. It's important to always keep your broth at the same temperature as the rice. As the rice continues to cook and absorb the broth, it will puff up and release its' starch, which is what gives risotto that signature creaminess. Adding liquid that is too cool will reduce the risotto's temperature, interrupting the cooking process and causing the risotto to cook unevenly. Ingredients:
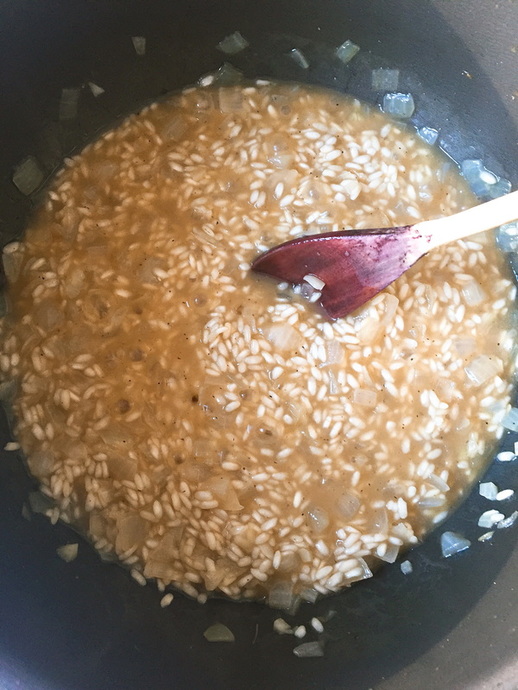
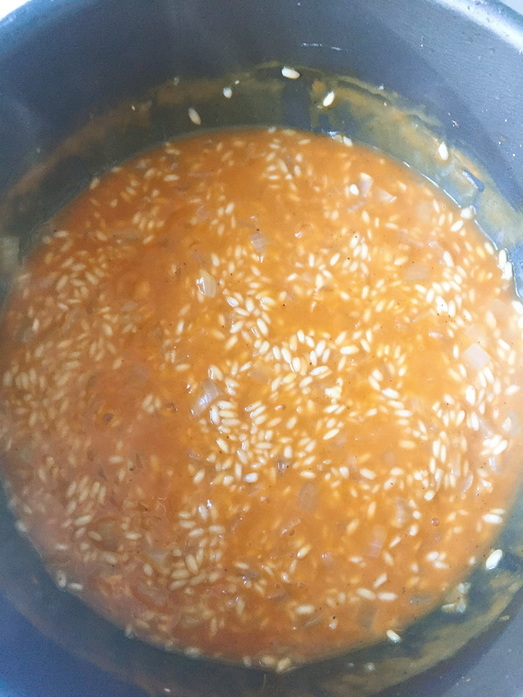
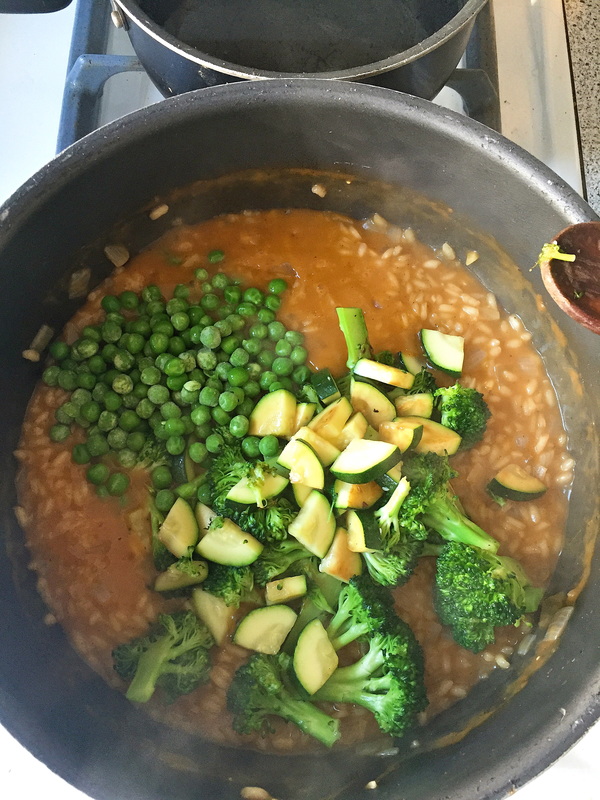
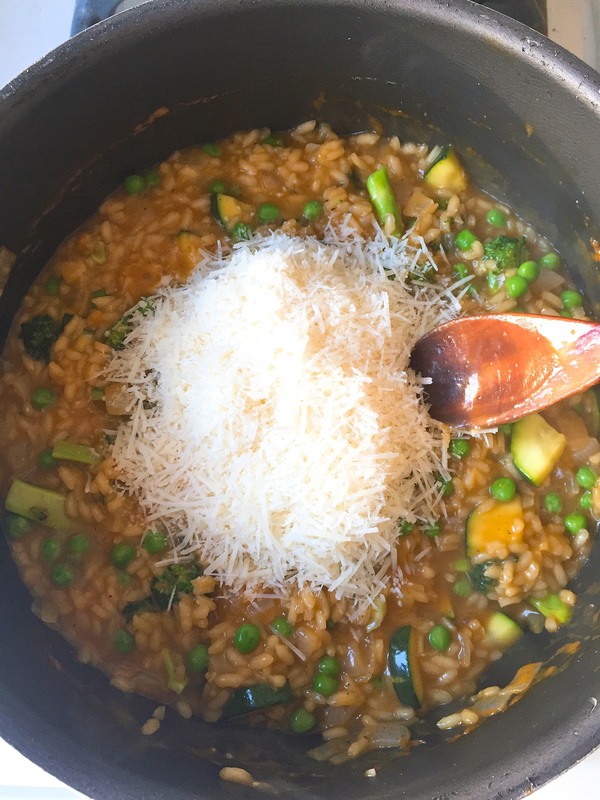
• 1 1/2 cups Arborio rice (uncooked) • 4 1/2 cups vegetable stock (in general the larger cartons of stock are about 32 oz. Feel free to use water for that last 1/2 cup) Note: you may need more or less broth • 1 cup white wine (plus more for you) • 1 small onion (chopped) • 3 garlic cloves • 3 tbsp butter • 4 carrots (chopped in large chunks) • 1/3 cup frozen sweet peas (thawed) • 1 cup of broccoli (cut into florets) • 1/3 cup zucchini (diced) • 1 cup grated parmesan • 1/4 cup flat leaf parsley (finely chopped) • 1 tbsp olive oil • Salt and cracked black pepper (to taste) Directions: **Be sure to have all ingredients measured out and chopped up before you start the risotto** • Start with your purée. Add carrots, water (just enough to cover the carrots), and a pinch of salt to a small saucepan. Bring to a boil and allow carrots to cook until tender. Saving the liquid, remove the carrots and add to a blender or food processor. Add about 1/4 cup of the cooking liquid and blend until smooth. Add about a tbsp of cooking liquid as necessary, until carrots have reached the right consistency. It should basically have the consistency of baby food- very smooth, but not too watery. Set aside when done. • Heat the broth in a small saucepan until the liquid starts steaming. Adjust heat as necessary to keep the liquid hot, without simmering, as you cook the risotto. • Over medium heat, melt the butter in a large pot. Add onions and cook down until translucent, about 4 minutes. Add salt, pepper, and garlic. Cook until fragrant, about one minute. • Add the rice, and give it a few stirs so that the butter covers all of the grains. Let the rice toast for about a minute, stirring occasionally. • Add wine, inhale the AROMA, and let cook until most of the liquid is absorbed. Note: throughout the duration of this process, you will be adding liquid and cooking down until most, not all, is absorbed. You always want a thin layer of liquid covering the rice. • Add a ladleful of broth (about 1/2 cup) and continue to stir occasionally until most of the liquid is absorbed. Continue to repeat this process until you've added half of your broth. • At this point, add in your carrot purée, and with that same method, stir occasionally until most of the liquid has been absorbed. Then return to ladling in the broth. Continue doing this until your risotto is creamy and al dente. • While your risotto is cooking, heat a tbsp of oil in a non-stick skillet. Add broccoli, with a pinch of salt, and sauté until bright green. Add zucchini and continue to sauté until tender. I like to get a little sear on the zucchini as well. Remove from heat and set aside. • Once risotto is done, add in your broccoli, zucchini, peas, and parsley. Stir to combine and cook for about a minute, allowing all of the flavors to come together. • Add parmesan and stir until cheese has melted • Season with more cracked black pepper. Taste before adding any extra salt- parm is salty on its' own Serve immediately! Off the bat I will let you know that you'll need a julienne peeler for this recipe. They're only like 10 bucks for a pack that comes with both a julienne peeler and a regular peeler, so it's well worth the investment, IMHO.
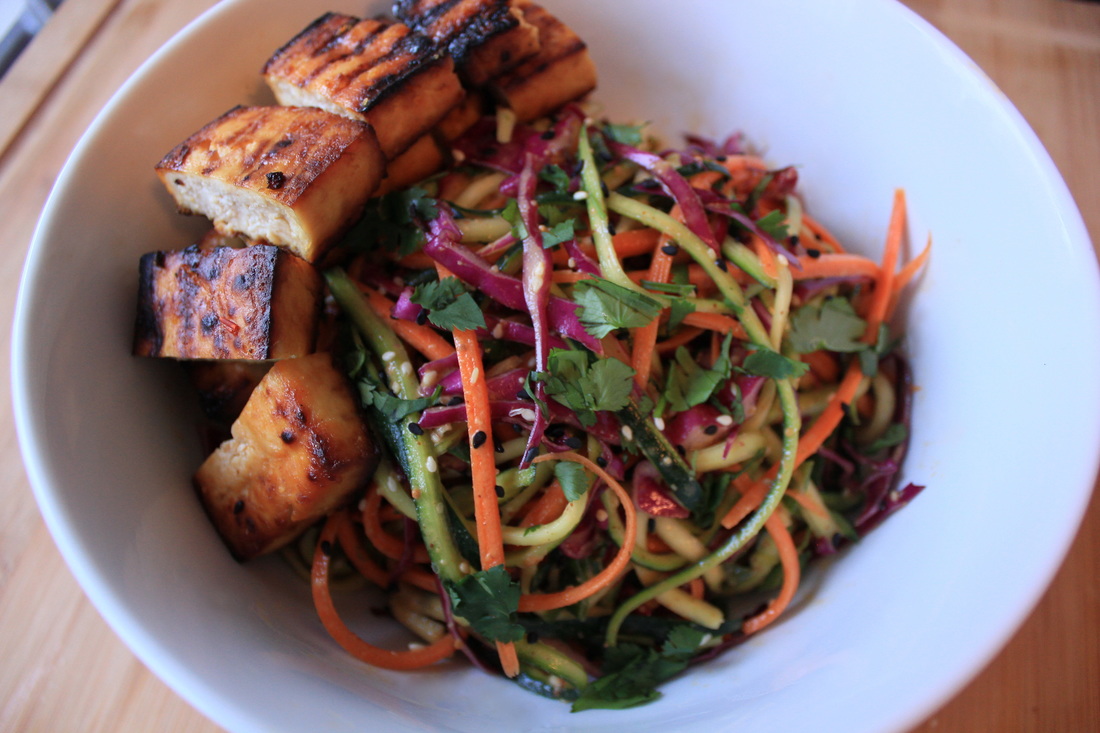
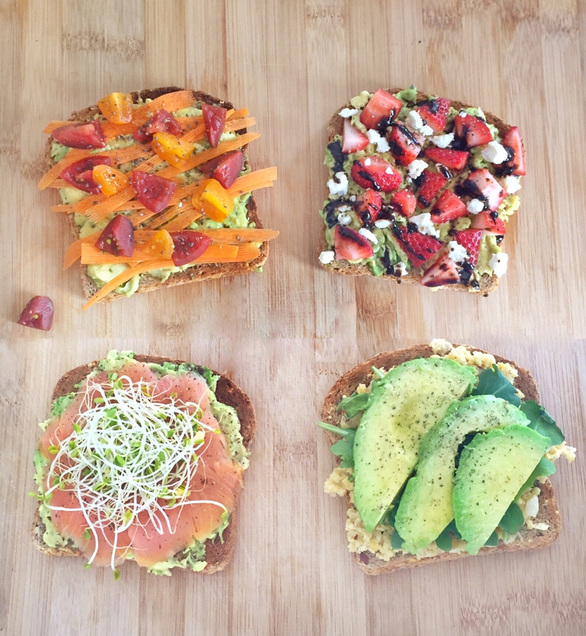
So, zucchini noodles. I'm gonna keep it real with you and admit that I do not consider zucchini noodles, or zoodles, to be a great substitute for pasta. At the end of the day, it's a vegetable, and it will never have the carb-y caress of a real noodle. But, as a salad, I am fond of zoodles. My favorite salads are crunchy and colorful, and using zucchini and carrot noodles is a great way to achieve this. I used a nut butter based dressing for this salad. It's creamy and zesty, and pairs perfectly with the sweet & spicy tofu. The tofu is first seared on a grill pan for about 5-7 minutes, to give it those nice grill marks, and then cooked under the broiler for about 16-20 minutes. The long cook time helps to remove the excess moisture in the tofu, leaving with is a crispy, meaty lil nugget that makes this salad a filling, satisfying, and delicious meal. For real- I was sad when it was over. Ingredients: Noodles: • 2 1/2 zucchinis, julienned Note: you only want to use the firmer, meatier part of the zucchini. 3 peels per side will get you right to the softer, mushier core, which is the part you don't want to use. I know, I know. It feels very wasteful. You can save the core for homemade veggie broth, or add it to a smoothie (it has no taste). • 3 large carrots, julienned • 1/3 cup red cabbage, thinly sliced • 2 tbsp cilantro, finely chopped • 1 1/2 tbsp green onion, thinly chopped • 1 tbsp lime juice • 1 1/2 tbsp almond butter or peanut butter • 1/2 tbsp honey • 1 tsp sesame oil • 1 tsp chili paste • 1/2 tsp soy sauce • 1 tsp rice vinegar Optional toppings: black and white sesame seeds, chopped peanuts Tofu: • 6 oz extra firm tofu • 1 tbsp honey • 2 garlic cloves, minced • 1 tsp ginger (freshly ground or tubed.. both are fine) • 1/2 tsp sriracha (or more, depending on desired level of spiciness) • 1/4 tsp lime juice • Pinch of salt Directions: • Cutting across the shorter length of your block of tofu, cut 3/4" thick slices. Place slices on a napkin or paper towel, and pat dry. • Add all tofu marinade ingredients to a bowl, and stir to combine. Add tofu, flipping to cover both sides, and let marinate for 15 minutes. Make sure to save the marinade for later. • Add carrots, zucchini, and cabbage to a bowl. Mix your nut butter, honey, sesame oil, chili paste, soy sauce, and rice vinegar in a separate bowl and set aside until ready to serve. • Heat grill pan over high heat and spray liberally with non-stick cooking spray. Once hot, add tofu and let sear for 3-4 minutes per side. Shift the tofu after a couple of minutes on each side, to keep it from sticking to the pan Note: if you don't have a grill pan, you can sear the tofu in a regular skillet • Adjust your oven rack to 8 inches below your broiler. If your oven gives you the option of low or high (mine does not, so no worries), keep it on low. Mine's super hot but it worked out just fine. • Place tofu on a greased baking rack and place the rack on a lined baking sheet to catch the drippings. Cook the tofu under the broiler for 8-10 minutes on each side, or until the tofu is golden brown, and the edges are crispy. Assuming your uncooked tofu was a 10 on a scale of 1 to tender, the center of your tofu should now be at a 6. Be sure to rotate your baking rack every few minutes, to get an even cook. • Remove the tofu from the oven and brush the top with the remaining marinade. Place back under the broiler and cook for another minute or 2, until the glaze has caramelized. • Remove, let cool, and cut into bit sized pieces. Dress your salad, top with your tofu, and enjoy! From top left, clockwise: TOMATO, CARROT, CHIA STRAWBERRY, FETA, BALSAMIC GLAZE CHICKPEA SMASH and ARUGULA SMOKED SALMON and SPROUTS I love playing with textures, colors, and flavors when I make avocado toast. My daily breakfast is almost invariably a smoothie with a slice of avocado toast, so I like to switch it up to keep it interesting. Of these 4, my hands down FAVORITE is the strawberry version. The tart strawberries with the creamy avocado, salty feta cheese, and sweet balsamic reduction is out. of. this. world. Don't knock it 'til you try it, kids. What you need: Tomato/Carrot/Chia Quarter avocado, mashed 2 cherry tomatoes, cut into quarters and then halved 1 carrot, thinly shaved (you can use a potato peeler) Coarse sea salt and fresh cracked black pepper to taste Optional toppings: sprinkle of chia seeds, dash of red pepper flakes Strawberry/Feta/Balsamic Glaze Quarter avocado, mashed 3 strawberries, cut into quarters and then halved Sprinkle of feta cheese Drizzle of balsamic reduction Sea salt and fresh cracked black pepper to taste (trust me on the pepper) Chickpea Smash/Arugula Quarter avocado, sliced Quarter cup canned chickpeas (drained, rinsed, and mashed) Drizzle of olive oil, pinch of sea salt, 1-2 tsp of lemon juice (add to chickpeas before mashing) Small handful of arugula Fresh cracked black pepper to taste Optional toppings: dash of red pepper flakes (on top of chickpeas, under arugula. It's just better this way.) Smoked Salmon/Sprouts Half an avocado, mashed 2-3 thin slices of smoked salmon Small handful of sprouts of choice No salt, salmon is salty on its' own. Just fresh cracked black pepper to taste (season both the avocado and the salmon). The bread: As my queen Ina Garten would say, use a really good bread. My favorite is Food for Life's Ezekiel Bread. I love their 7 Sprouted Grains and Sesame Sprouted the most. But if you don't have really good bread, any bread will do. Rice cakes are also GREAT. *Kitchen Tip* Have you ever noticed how the expiration date on bread is usually within 2 weeks from the day you bought it? And that you NEVER finish the full loaf before it gets stale? Well, did you know that bread keeps PERFECTLY in the freezer? When you're ready to eat, just pluck a slice from the loaf and let it either sit on the counter for 10 or so minutes until it hits room temperature, or simply pop it in the microwave for 10-15 seconds. You'll finally have bread that lasts long enough that you can actually finish it! Save ya money, honey. |
Hi! I'm Shantal.
Categories
All
|



 RSS Feed